Introduction to Audio Compression
Audio compression is crucial in music production. It ensures that all sounds in a track are clear and consistent.
As a dynamic audio processor, a compressor plays a key role here. It manages sounds that are too loud and those that are too soft, balancing the overall volume. This way, every note played is heard as intended. By reducing the volume of louder sounds, compressors prevent distortion that can occur from peak levels.
This process also boosts quieter sounds, making them more audible.
As a result, compression helps maintain a song’s energy and dynamics without losing clarity. It is especially useful in tracks with varying instrumental intensities. Producers and engineers use this tool to polish their tracks, ensuring the music sounds good on any audio system. Proper use of a compressor can enhance your sound, making it powerful yet controlled.
As you explore audio production, mastering the use of compressors will significantly improve the quality of your music, making your mixes professional and broadcast-ready.
The Fundamentals of Audio Compression
How Audio Compressors Enhance Your Audio
Audio Compressors are vital tools in audio mixing that enhance sound quality by managing dynamic range.
They even out audio levels, making soft sounds more prominent and loud sounds softer. This balancing act prevents audio peaks that can cause distortion, ensuring all elements of the track are equally heard.
Effective use of compressors can also add punch to rhythmic sections and clarity to vocals, greatly improving a mix’s overall impact. By controlling dynamics, compressors help in creating a sound that is consistent and pleasing to the ears, making it suitable for various listening environments.
Audio Compression Dynamics and Their Impact on Sound
Dynamics in audio compression refer to the volume differences within a piece of music.
They play a critical role in conveying emotion and building intensity. However, if these dynamics vary too widely, some details might get lost or overshadowed in certain listening conditions. Compressors reduce these extreme variations by gently squashing the audio’s dynamic range.
This process not only helps in achieving a more balanced mix but also ensures that every subtle nuance is audible.
Whether it’s the soft strum of a guitar or the aggressive hit of a drum, compressors maintain the integrity of the original performance while making the sound more accessible to listeners everywhere.

Image by Pedro Gm
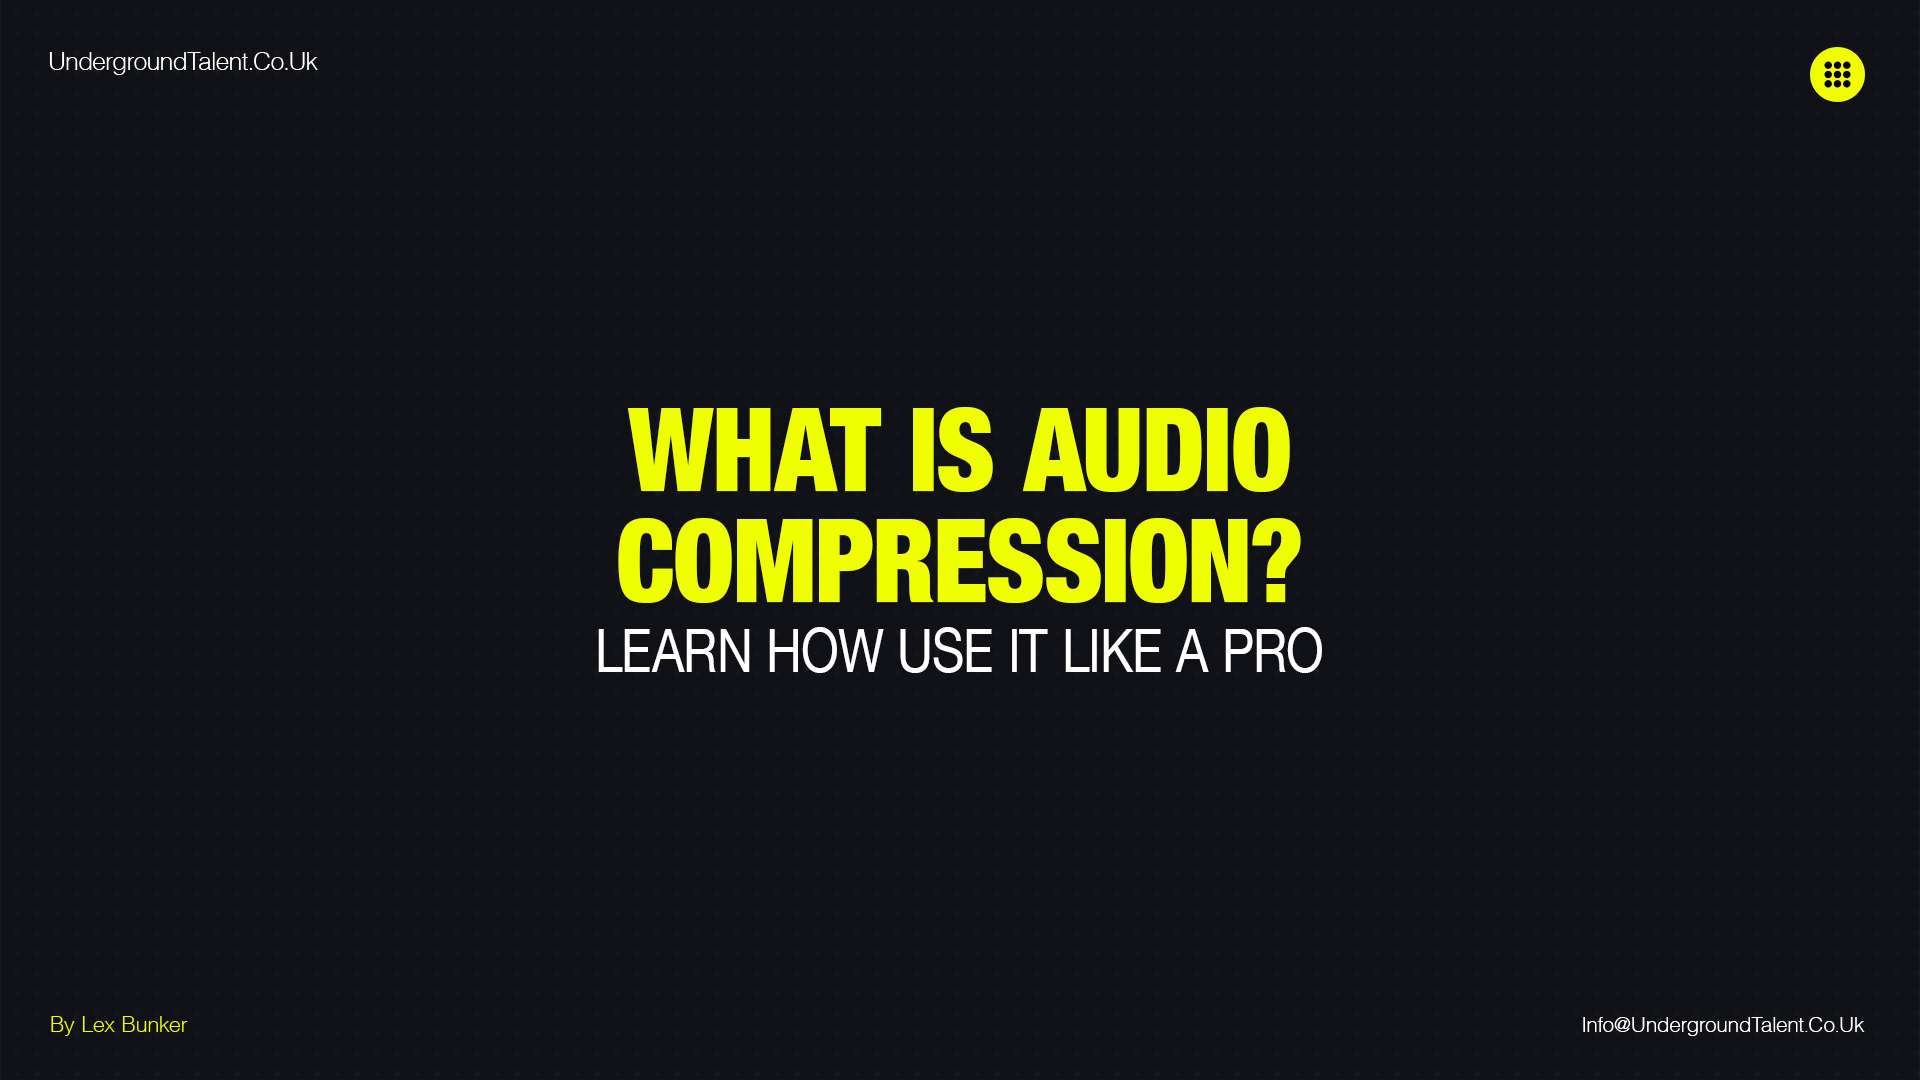
Essential Audio Compressor Settings Explained
Audio Compressors shape the dynamics of your music, ensuring every detail is perfectly balanced. Here’s how to adjust the essential settings:
Threshold: Setting the Limits
- Threshold determines when the compressor starts to reduce the volume.
- Set this level to specify how loud sounds must be before compression begins.
- Lowering the threshold includes more of the audio signal in the compression process, affecting more of the track.
Ratio: Balancing the Dynamics
- Ratio decides how much compression is applied.
- It is expressed as a ratio (e.g., 4:1), indicating that for every 4 dB over the threshold, output is reduced to 1 dB.
- A higher ratio means more intense compression, making loud sounds significantly quieter.
Attack: Timing the Impact
- Attack controls how quickly the compressor reacts after the threshold is surpassed.
- Fast attack times can tame sharp, abrupt sounds, like a snare drum hit.
- Slower attack times allow some of the sound’s natural dynamics to come through before compression kicks in.
Release: The Art of Letting Go
- Release sets how soon the compressor stops affecting the sound after it drops below the threshold.
- Short release times can cause the audio to pump unnaturally.
- Longer release times provide a more natural fade back to the uncompressed state.
Makeup Gain: Rebalancing the Output
- Makeup Gain compensates for the volume lost due to compression.
- This adjustment lets you bring the compressed audio back up to a suitable level.
- Use it to ensure the overall loudness matches other tracks or sections of your mix.
These settings collectively fine-tune how the compressor impacts your audio, helping to create a polished, professional sound. Adjusting each one carefully ensures that every element in your mix stands out clearly, without any part overwhelming the others.
Image By Caught In Joy
 Image By Caught In Joy
Types of Audio Compression in Detail
Different types of audio compression offer unique benefits depending on the audio material and desired effect. Here’s a breakdown:
Multiband Compression: The Targeted Approach in Audio Compression
- Multiband Compression divides the audio spectrum into multiple bands, allowing you to apply different compression settings to each.
- This selective approach lets you control dynamics more precisely without affecting the entire mix.
- Ideal for complex mixes where different elements occupy varying frequency ranges.
Brick Wall Limiting: Preventing Peaks with Audio Compression
- Brick Wall Limiting is an extreme form of compression with very high ratios, effectively preventing any peaks above the threshold.
- It ensures the audio does not exceed a set limit, crucial for avoiding digital clipping and distortion.
- Commonly used in mastering to maximize loudness while keeping levels safe.
Lookahead Compression: Anticipating the Signal in Audio Compression
- Lookahead Compression temporarily delays the audio to give the compressor a ‘preview’ of what’s coming.
- This foresight allows the compressor to react more effectively to fast transients.
- Especially useful for managing sharp attacks in music, like aggressive drum hits.
Sidechain Compression: Creating Pumping Effects with Audio Compression
- Sidechain Compression uses the audio signal from one track to control the compression on another.
- Often used in dance music to make the bass ‘pump’ or ‘breathe’ in rhythm with the kick drum.
- Creates a dynamic relationship between rhythmic elements, enhancing the groove.
Parallel Compression: The Best of Both Worlds in Audio Compression
- Parallel Compression, or New York compression, blends uncompressed and compressed signals.
- It allows you to retain the natural dynamics of the original sound while adding the body and presence of the compressed version.
- Provides a powerful sound without overcompression, maintaining clarity and punch.
| Type of Compression | Purpose | Common Use Cases |
|---|---|---|
| Multiband Compression | Target-specific frequency bands | Complex mixes with varied elements |
| Brick Wall Limiting | Prevent peaks and manage loudness | Mastering tracks to ensure consistent loudness |
| Lookahead Compression | Anticipate and manage fast transients | Aggressive drum beats or sharp acoustic strums |
| Sidechain Compression | Create rhythmic pumping effects | Dance music to sync bass lines with kick drums |
| Parallel Compression | Blend natural dynamics with compressed presence | Vocals and drums to enhance power without mud |
Each type of compression serves a strategic purpose in music production, helping you sculpt a more polished and professional sound. Use these tools wisely to enhance your tracks’ dynamics and overall impact.
Audio Compressors at Work: Practical Examples
Compressors are essential tools in audio production, providing control and consistency across various elements of a mix. Here’s how to effectively use them:
Compressing Drums for Enhanced Punch
- Drum Compression is crucial for achieving a solid, impactful drum sound.
- Apply a moderate to high ratio (4:1 or higher) to ensure each drum hit cuts through the mix.
- Set a fast attack to tame the initial hit and a medium release to maintain natural decay.
- This technique tightens the drum kit, enhancing the punch and presence in a busy mix.
The Secret to Smoothing Sounds with Kick Compression
- Kick Compression can define the rhythm and drive of electronic music.
- Use a higher ratio (4:1) to control the dynamic range of the kick drum.
- A fast attack clamps down on the initial transient, bringing uniformity to the kick’s impact.
- A longer release time helps the kick to gel with the rhythm, enhancing the overall groove of the track.
Managing Bass in the Mix with an Audio Compressor
- Bass Compression is vital for maintaining a consistent low-end presence.
- Opt for a ratio of around 4:1 to provide enough control without squashing the life out of the bass.
- A slower attack allows the initial pluck or punch to come through, followed by compression to sustain the sound.
- Experiment with the release setting to sync with the tempo of your track, aiding in a groove that feels locked in.
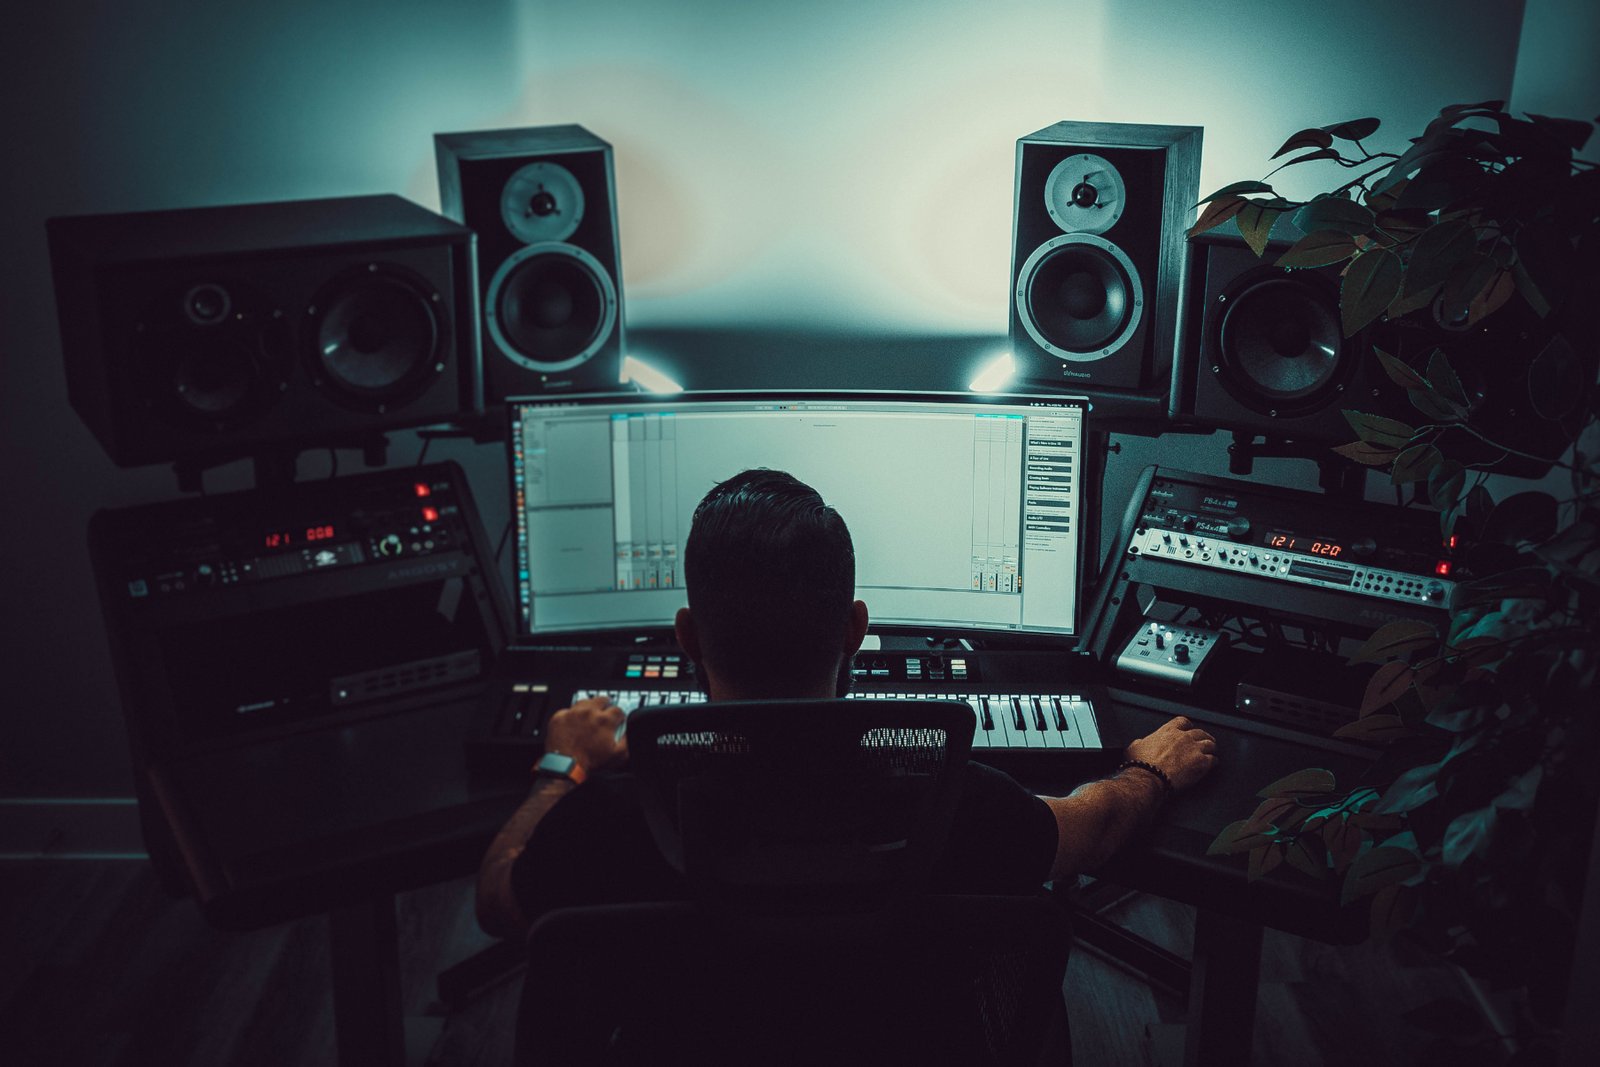 Image By Troy T
Advanced Audio Compression Techniques
Mastering advanced audio compression techniques can significantly enhance the quality and professionalism of your mixes. Here’s how to apply some sophisticated methods.
Serial vs. Parallel Compression: Which to Use When?
- Serial Compression involves using multiple compressors in a chain, each set for specific tasks. This approach is ideal for detailed dynamic control.
- Use it when you need to shape the attack and sustain of a sound separately.
- Start with a compressor with a fast attack to tame peaks, followed by one with a slow attack to add body.
- Parallel Compression, or New York Compression, mixes the original uncompressed signal with a compressed version.
- It’s perfect for adding punch and life to drums or vocals without sacrificing their natural dynamics.
- Blend a heavily compressed track with the original to enhance energy while retaining clarity.
Dynamic EQs vs. Multiband Compressors
- Dynamic EQs adjust specific frequency bands’ gain only when they meet certain threshold conditions, combining the features of an EQ and a compressor.
- Use Dynamic EQs for problems that occur only at certain times, like harsh vocal sibilance during high notes.
- Multiband Compressors divide the audio spectrum into multiple bands and compress each band independently.
- They are best for complex materials where different frequency ranges need distinct processing, like a full mix or a busy bus group.
The Nuances of Knee Settings: Hard and Soft Knees Explained
- The knee setting on a compressor dictates how it transitions from uncompressed to compressed states as signals approach the threshold.
- Hard Knee compression applies immediate full compression once a signal crosses the threshold, producing a more aggressive and apparent effect.
- Suitable for percussive sounds where you want a noticeable compression impact.
- Soft Knee compression gradually introduces compression before the threshold, resulting in a more transparent and smooth compression.
- Ideal for vocals or instruments where you want to gently tame the dynamics without obvious signs of compression.
Choosing the Right Audio Compressor
Selecting the appropriate audio compressor—whether hardware or software—can drastically influence the sound quality and dynamic control in your productions. Here’s how to make the best choice for your audio needs.
Hardware vs. Software Audio Compressors: Making the Choice
- Hardware Compressors offer physical controls and analog warmth that many producers value, especially in high-stakes recording environments.
- They are often favoured for their tactile interface and the subtle colouration they impart on the sound.
- Ideal for studios looking to invest in long-lasting, high-quality gear that adds a unique character to recordings.
- Software Compressors are versatile, accessible, and can be more cost-effective than their hardware counterparts.
- With advancements in digital technology, software compressors can now emulate classic hardware units with great accuracy.
- Perfect for home studios and on-the-go producers who require flexibility and a wide variety of options.
Best Audio Compression VST Plugin
Click here to get FabFilter Pro-C 2
When choosing between hardware and software, consider your budget, the specific qualities you want in your recordings, and the practical aspects of your setup. For more insights, particularly on budget-friendly analog compressors, you can read further here.
Top Compressors for Different Audio Needs
- For Vocals: Look for a compressor with a softer knee and a more transparent sound. Software like the Waves Renaissance Compressor or classic hardware like the LA-2A are excellent choices.
- For Drums: You’ll want something with a fast attack and release. The dbx 160 is a renowned hardware option, while the Slate Digital FG-116 offers similar qualities in software form.
- For Mastering: Precision is key, making multiband compressors and limiters your go-to tools. The Manley Variable Mu (hardware) and FabFilter Pro-MB (software) are top picks for detailed dynamic control.
- For Live Sound: Robust, reliable compressors that can handle high SPLs and are easy to adjust in real-time are crucial. Consider the Drawmer DL241 or the software alternative, Waves C6, for live mixing scenarios.
Common Compression Mistakes to Avoid
Proper use of compression is crucial in audio production, but common errors can undermine its benefits. Avoid these mistakes to ensure optimal sound quality.
Overcompression: Signs and Solutions
Overcompression occurs when the compressor is applied too heavily, squeezing the life out of a track. Signs include a lack of dynamics, where loud and soft sounds become indistinguishable, and a “pumping” effect that makes the audio feel unnatural. This issue often arises in an attempt to make tracks louder, but it can lead to fatigue for listeners.
Solutions:
- Adjust the Threshold: Set it higher so fewer parts of the audio are affected.
- Lower the Ratio: This reduces the amount of compression applied to signals over the threshold.
- Use Parallel Compression: Blend compressed and uncompressed signals to add life back to the track.
- Audit with Fresh Ears: Take breaks and revisit mixes to prevent overcompression.
Misunderstanding Attack and Release Times
Attack and release settings determine how quickly compression starts and stops. Misjudging these times can either squash the transients of a track or cause it to react too slowly, missing the point of compression entirely.
Attack Time:
- Fast Attack: Use for taming very transient sounds like snare drums.
- Slow Attack: Allows more of the attack through for instruments where punch is desirable, like bass.
Release Time:
- Fast Release: Can create a pumping effect if too short; useful for quick, rhythmic audio.
- Slow Release: Better for a more natural sound, especially in mixes where smoothness is key.
Adjusting these settings requires careful listening. Often, the best approach is to start with moderate settings and adjust incrementally while continuously monitoring the impact on the sound.
Incorporating Audio Compression in Live Sound
Using audio compression effectively in live sound settings can significantly enhance the clarity and quality of the performance. Here’s how to adjust compression for live events and some practical tips to get the best results.
Adjusting Audio Compression for Live Performances
In live settings, audio compression helps manage sound levels dynamically, preventing peaks that could cause feedback or speaker damage while ensuring all elements are audible to the audience. The key is to use it wisely:
- Set Reasonable Thresholds: Begin by setting a threshold that catches only the loudest parts you want to control. This helps maintain the natural dynamics of the performance.
- Choose Appropriate Ratios: A lower ratio (around 2:1 to 4:1) can be effective for vocals and guitars, ensuring they’re heard but not over-compressed. Drums and bass may benefit from higher ratios to maintain punch and presence.
- Opt for Faster Attack Times: Live sound often involves quick, transient sounds that need immediate attention to avoid overwhelming the mix. Setting a faster attack time helps catch these effectively.
- Moderate Release Times: The release time should be quick enough to prepare the compressor for the next sound spike but slow enough to avoid a pumping effect. Adjust according to the tempo and style of the music.
Tips for Using Audio Compressors During Live Performances
Using audio compressors live isn’t just about setting and forgetting. Continuous adjustment and attention to detail are crucial for optimal results:
- Sound Check Adjustments: Use the sound check to set initial compressor settings based on how the instruments and vocals sound in the venue.
- Monitor Constantly: Changes in the performance or audience noise levels might require on-the-fly adjustments to compression settings.
- Use Sidechain Features: If available, use sidechain compression to allow important elements like vocals to cut through the mix by compressing competing frequencies.
- Educate Your Team: Ensure that all sound operators understand how to use the compressors and what to listen for during the performance.
FAQs on Audio Compressors
Here are some commonly asked questions about using audio compressors, especially in home recording environments and for managing dynamic range.
How to Set Up an Audio Compressor for a Home Recording?
Setting up an audio compressor for home recording involves a few key steps:
- Choose the Right Compressor: Select a compressor that suits the type of audio you are recording, whether it’s vocals, instruments, or the entire mix.
- Set the Threshold: Determine the level at which the compressor starts to reduce the audio signal. Lower thresholds affect more of the signal, while higher thresholds capture only the loudest parts.
- Adjust the Ratio: Decide how much compression to apply once the signal exceeds the threshold. A lower ratio is less noticeable, while a higher ratio is more aggressive.
- Configure Attack and Release Times: Set the attack to control how quickly the compressor reacts to exceeding the threshold, and the release to control how quickly it stops compressing after the signal drops below the threshold.
- Fine-Tune with Make-Up Gain: After compressing, you may need to adjust the make-up gain to compensate for the reduction in overall signal level.
What Audio Compression Settings Work Best for Dynamic Range Control?
The best audio compression settings for controlling dynamic range vary depending on the material, but generally include:
- Moderate to Low Threshold: Allows more of the signal to be compressed, which can smooth out varying levels.
- Ratio of 2:1 to 4:1: Provides sufficient compression to even out levels without crushing the dynamics.
- Medium Attack and Release: Avoids artifacts like pumping or breathing while maintaining natural sound.
- Use of Soft Knee: A soft knee setting makes the onset of compression more gradual, which can be more transparent.
Can I Use a Compressor to Improve Vocal Clarity?
Yes, compressors can enhance vocal clarity by controlling peaks and balancing the volume of the vocals within a mix.
How Do I Avoid Overcompression in My Mixes?
Monitor the gain reduction meter and adjust settings if compression exceeds 4-6 dB regularly, or use parallel compression techniques.
What Is Sidechain Compression and How Can It Be Applied?
Sidechain compression uses the audio signal from one track to trigger compression on another. It’s commonly used to make space for the kick drum by compressing the bass whenever the kick hits.
Is There a Difference in Applying Compression to Digital Versus Analog Recordings?
While the basic principles of compression apply to both, digital recordings can handle higher levels of compression before noticeable distortion, thanks to their higher dynamic range.
How to Use a Compressor for Live Streaming?
Apply light to moderate compression with a soft knee for smooth dynamics, ensuring consistent audio levels and reducing the risk of distortion from sudden loud noises.
How to Use An Audio Compressor by Landr.
Producing Techno? Get Your Free Sample Packs.
Dive into electronic music production with our newly released “Free Techno Tools V1” and “Free Techno Tools V2” sample packs. These packs are full of high-quality sounds that will add a professional touch to your tracks. If you’re looking to expand your sound library, these free sample packs are perfect for every techno fanatic. Click on the links below to access these fantastic resources and elevate your production game today!
Enhance Your Productions
Discover more ways to improve your sound:
- Techno Music Production Guide
- How to Promote Electronic Music | 10 Ways For Beginners
- EQ and Layering Techniques
- Low-End Techniques
- Best MIDI Keyboards for Electronic Music Production in 2024
- Sound Design & Effect Processing
Free Tools And Plugins
- Ambience VST by Smartelectronix
- Dexed: Free FM Synth VST by Digital Suburban
- Helm Synthesizer – Download Free
- D16 Repeater – Ultimate Delay Plugin
- Groove Shaper by Pitch Innovations
More Techno? Connect With Us.
Join our vibrant community for more wisdom and updates:
And Always Remember…
Have Fun & Be Creative!