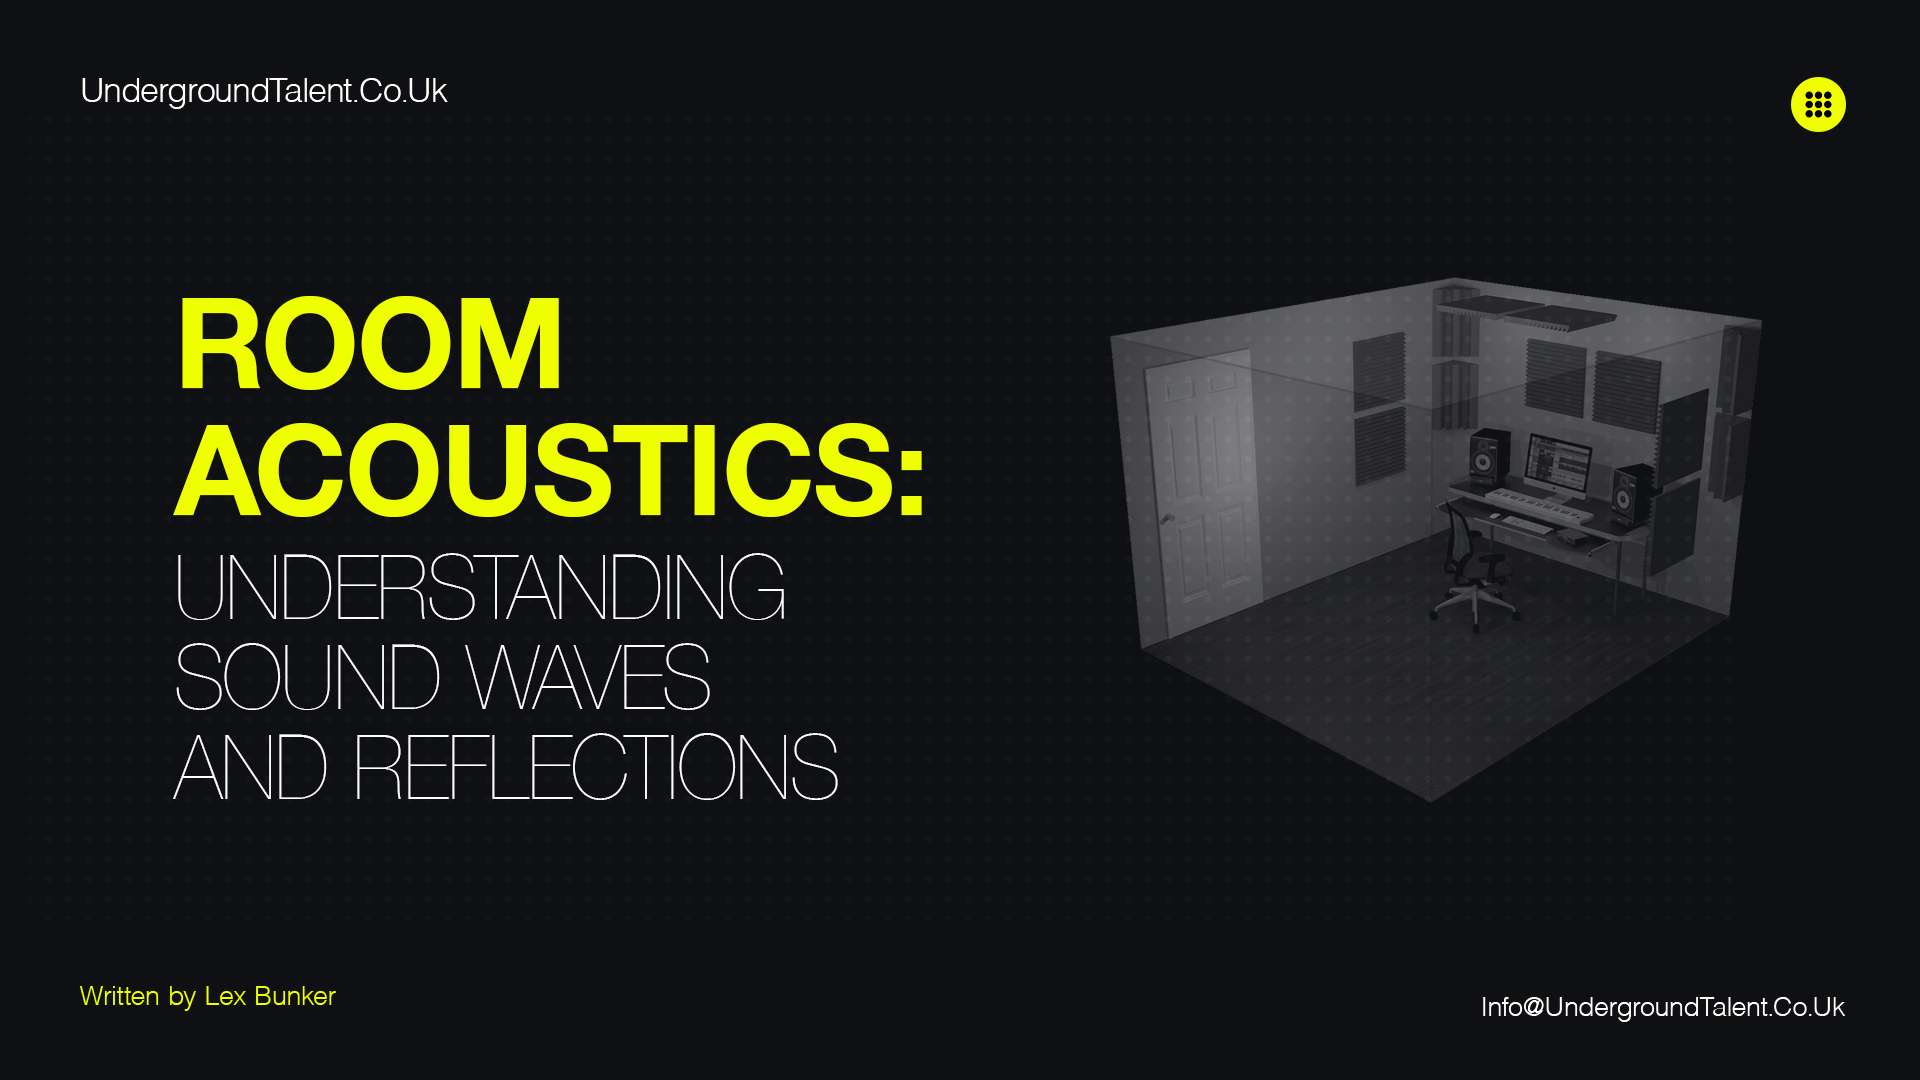
Room Acoustics: Understanding Sound Waves and Reflections
Hello friends! Are you tired of recording in a room that sounds like a dungeon? Are you ready to take your home studio to the next level, but don’t have the budget for a professional acoustician? Well, you’re in luck! This series of articles on Room Acoustics 101 will be your guide to creating a top-notch home studio on your budget.
In the previous article of this series, we will discuss the myths and common mistakes in room acoustics.
Now it’s time to discuss the basics of room acoustics, including sound waves, reflections, and reverberation, and how they affect the sound quality of your recordings. We’ll also be sharing tips and tricks for improving your room’s acoustics, including using sound-absorbing materials, proper equipment placement, and incorporating curves and angles into your room design.
And don’t worry, we won’t be talking about complex physics or rocket science, we’ll keep it simple and easy to understand, just like a good home studio setup should be! So, grab your notebook and a pen, because you’re about to learn how to create a home studio that will make your tracks sound like a million pounds (or at least a few hundred pounds).
Ready to turn your home studio into a professional-sounding one?
Let’s get started!

Read Also: How to Promote Electronic Music | 10 Ways For Beginners
The Basic Principles of Room Acoustics
Room acoustics is a crucial aspect of any small room home studio, as it greatly affects the sound quality of your recordings. Poor room acoustics can lead to echoes, unwanted reverb, and a lack of clarity in your audio. However, with a little knowledge and effort, you can greatly improve the acoustics of your home studio to achieve the best possible sound.
It’s important to understand the basic principles of room acoustics. Sound waves travel through the air and bounce off surfaces, creating reflections that can affect the overall sound of your recordings. To improve the acoustics of your small room home studio, you’ll need to focus on controlling these reflections and reducing unwanted reverberation.
What are Reflections in Room Acoustics?
In-room acoustics, reflections refer to the sound waves that bounce off surfaces and reach the listener’s ears after the direct sound from the source. These reflections can cause comb filtering, flutter echo, and standing waves, which negatively affect the clarity, definition, and balance of the sound. To improve room acoustics, it’s important to control these reflections by using sound-absorbing, sound-diffusing, and sound-blocking materials, as well as proper equipment placement.
In a small room home studio, the sound waves reflect off the walls, ceiling, and floor, creating multiple reflections that can interfere with the direct sound, which is the sound that comes directly from the source (e.g. speakers or microphone) to the listener’s ear.
These reflections can cause comb filtering, flutter echo, and standing waves, which can negatively affect the clarity, definition, and balance of the sound.
Comb Filtering
Comb filtering occurs when sound waves from a source reach the listener’s ear directly and also after reflecting off one or more surfaces. The listener hears two versions of the same sound, one delayed and one direct, which creates a reinforcement and cancellation of certain frequencies, resulting in a comb-like frequency response. Comb filtering can make the sound hollow, boomy, or thin, depending on the distance and angle of the reflecting surfaces.
Flutter Echo
Flutter echo happens when sound waves reflect back and forth between parallel surfaces, such as walls, creating a rapid succession of reflections that sound like a metallic ringing. Flutter echo can make the sound harsh, fatiguing, and difficult to locate.
Standing Waves
Standing waves are created when sound waves reflect back and forth between opposite surfaces, such as walls and floors, and reinforce each other at certain frequencies. These frequencies are called resonant frequencies or room modes, and they can create large variations in the sound pressure level and frequency response depending on the listener’s position in the room. Standing waves can make the sound boomy, boxy, or uneven.
Read Also: DJ’s Guide to Local Gigging by Emma Yasumi
How to Control Reflections?
To control these reflections, and reduce unwanted reverberation, you can use a combination of sound-absorbing, sound-diffusing, and sound-blocking materials. Sound-absorbing materials, such as acoustic foam, fiberglass, rockwool, or mineral wool, absorb the sound energy and convert it into heat. They are typically used on walls and ceilings to reduce the overall sound level, improve clarity and definition, and reduce the reverberation time.
Sound-diffusing materials, such as diffuser panels, quadratic residue diffusers (QRDs), or fractal diffusers, scatter the sound energy in various directions. They are typically used on walls and ceilings to break up reflections, improve spatial imaging, and reduce the flutter echo.
Sound-blocking materials, such as heavy curtains, thick doors, or soundproofing panels, prevent sound energy from passing through the surface. They are typically used on walls, floors, and ceilings to isolate the room from outside noise or from other rooms.
It’s important to note that sound-absorbing, sound-diffusing, and sound-blocking materials have different properties and applications, and the ideal combination and placement of these materials will depend on the room’s shape, size, layout, and purpose. A professional acoustician or an audio engineer can help you design a customized treatment plan for your small-room home studio.
Read Also: How To Promote Electronic Music on YouTube?
Speaker Positioning
Proper speaker positioning is crucial for achieving optimal sound quality in a small room home studio. The idea is to find a sweet spot where the direct sound from the speakers reaches the listener’s ear with minimal reflections and minimal interference from room modes.
The Golden Triangle Method
One of the most common speaker placement methods is the “Golden Triangle” or “Equilateral Triangle” method. In this method, the listener sits at the apex of an equilateral triangle, with the speakers placed at the other two points of the triangle, and the distance between the speakers and the listener is the same as the distance between the speakers. This method aims to create an equidistant and symmetrical sound field, and it works well in small rooms where the listener is close to the speakers.
The Near-Field Method
Another method is the “Near-Field” method, which places the speakers closer to the listener than the distance between the speakers. This method aims to reduce the influence of the room on the sound, and it works well in small rooms where the listener is farther away from the speakers. The speakers should be placed at an equal distance from the listener and angled toward the listener’s ears.
In both methods, it’s important to avoid placing the speakers directly against walls or in corners, as this can cause sound waves to bounce off surfaces and create unwanted reflections and standing waves. Placing the speakers on stands or isolating them from the floor with decoupling pads can also help to reduce the bass buildup and the transmission of vibrations.
It’s also important to consider microphone placement when recording. A good microphone placement will help to capture the sound source without picking up unwanted reflections or ambient noise. Using a cardioid or a directional microphone can help to reject sounds coming from the side or the rear, and using a shock mount can help to isolate the microphone from handling noise.
Proper speaker and microphone positioning can greatly improve the sound quality of your recordings in a small room home studio. It’s important to find the sweet spot where the direct sound from the speakers and microphone reaches your ears and ears with minimal reflections and minimal interference from room modes. And also, avoid placing the speakers and microphone directly against walls or in corners.
Read Also: Stop Being a Perfectionist by Lex Bunker
The Impact of Room Shape on Acoustics
The shape of a room plays a significant role in determining its acoustics. Rooms with square or rectangular shapes tend to have more reflections and echoes than rooms with more irregular shapes. This is because square and rectangular rooms have parallel walls, which can cause sound waves to reflect back and forth, creating flutter echo and standing waves.
Irregular-shaped rooms, on the other hand, have walls that are not parallel, which can break up reflections and reduce echo. Additionally, rooms with angled walls or curved surfaces can also help to scatter sound waves in various directions, which can improve the overall sound quality.
If you are building a new home studio or renovating an existing one, try to incorporate curves and angles into your room’s design. For example, adding a curved wall or ceiling can help to scatter sound waves and reduce reflections. Additionally, you can also use angled surfaces, such as angled ceilings or slanted walls, to break up reflections and improve the overall acoustics. If you can’t change the shape of the room, you can still improve the acoustics by using sound-absorbing, sound-diffusing, and sound-blocking materials, as well as a proper speaker and microphone placement.
Paying attention to the overall shape of your room can greatly improve the acoustics of a small room home studio. Incorporating curves and angles into the room design can help to scatter sound waves, reduce reflections, and improve the overall sound quality. If you can’t change the shape of the room, you can still improve the acoustics with proper treatment and equipment placement.
Read Also: 7 Music Industry Tips for Successful Networking
Conclusion
In conclusion, achieving good room acoustics in a small room home studio is essential for producing high-quality recordings. The key to success is a combination of sound-absorbing materials, proper equipment placement, and attention to the overall shape of your room. By using sound-absorbing materials on walls and ceilings, you can reduce reflections and unwanted reverberation.
Proper equipment placement, such as using the “Golden Triangle” or “Near-Field” method for speakers, can also help to minimize reflections and create a more balanced sound. And paying attention to the overall shape of your room, and incorporating curves and angles, can also greatly improve the acoustics. With a little effort, you can greatly improve the sound quality of your recordings and take your home studio to the next level.
Here is a great video by GIK Acoustics on the basics of room acoustics:
If you enjoyed this article and would like to learn more about room acoustics, be sure to visit our website or follow us on social media. We have a lot more information and resources to help you achieve the perfect sound in your home studio. You can find us on Facebook, Soundcloud, and Instagram, and don’t hesitate to reach out to us if you have any questions or comments by email on info@undergroundtalent.co.uk.
And Always Remember…
Have Fun & Be Creative!


